🚀 Getting Started with Trezor Wallet: Your Guide to Trezor.io/start
In the fast-evolving world of cryptocurrency, securing your digital assets is more important than ever. With increasing cases of cyber-attacks and online theft, relying solely on software wallets or exchanges for storage is risky. That's where Trezor, a trusted name in the hardware wallet space, comes into play. If you've just bought your first Trezor device or are planning to, your journey begins at Trezor.io/start — the official setup portal.
This blog post will walk you through the setup process, benefits, and key features of using Trezor hardware wallets via Trezor.io/start.
🔐 Why Choose a Trezor Hardware Wallet?
Before diving into the setup process, let’s understand why Trezor is a preferred choice among crypto users:
- Offline Storage: Trezor keeps your private keys offline, away from hackers.
- Open Source: Transparent and continuously audited code.
- Secure PIN & Recovery: Even if your device is stolen, your assets remain safe.
- Multicurrency Support: Trezor supports 1000+ coins and tokens including BTC, ETH, ADA, and more.
🧭 What is Trezor.io/start?
🔗 Secondary Keyword: Trezor.io/start
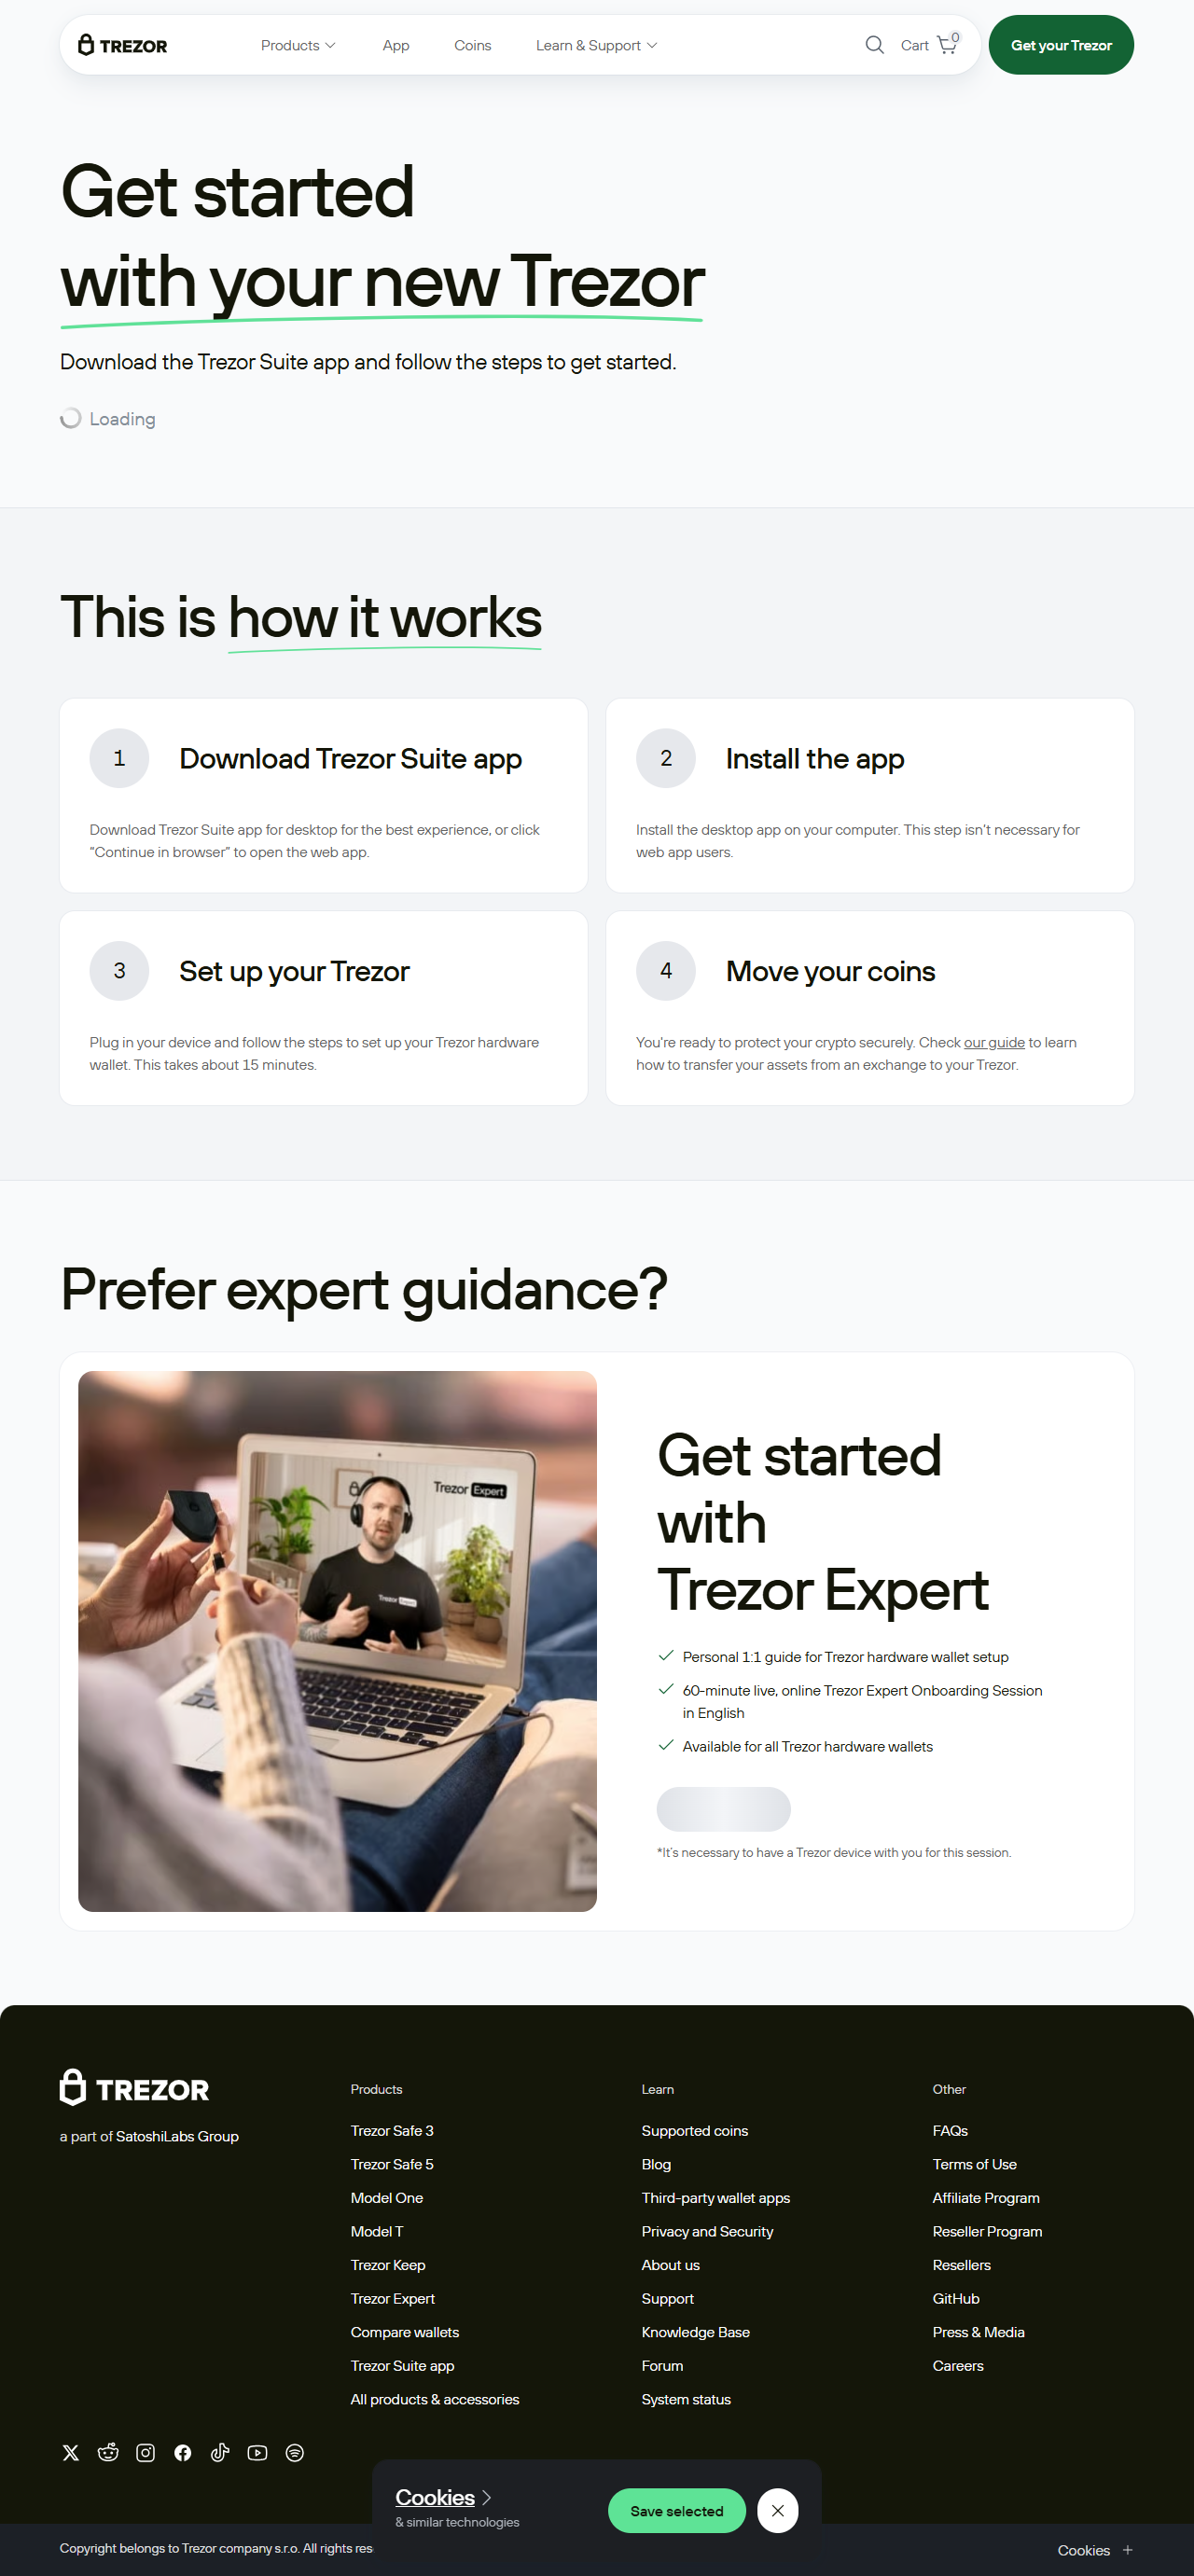
Trezor.io/start is the official setup page for initializing your Trezor hardware wallet. This user-friendly portal is designed to guide new users through:
- Device setup
- Firmware installation
- Wallet creation or recovery
- Security configurations
- Accessing the Trezor Suite desktop app or web interface
If you’ve purchased a new Trezor Model One or Trezor Model T, this is your first stop to make the device operational and secure.
📦 What You Need Before Visiting Trezor.io/start
To ensure a smooth setup process, make sure you have the following ready:
- Your Trezor device (Model One or Model T)
- A USB cable to connect the wallet to your computer
- An internet connection
- A computer or laptop with a secure browser
- A quiet, safe place to note down your recovery seed
🛠️ Step-by-Step Setup Guide at Trezor.io/start
Let’s explore how to set up your Trezor wallet using Trezor.io/start.
1. 🔌 Connect Your Device
Plug your Trezor wallet into your computer using the USB cable. You may be prompted to confirm the connection on the device screen.
2. 📥 Install Firmware
New devices don’t come with firmware pre-installed (for security reasons). Follow the instructions on Trezor.io/start to download and install the latest firmware.
Pro Tip: Always download firmware directly from the Trezor site. Never use third-party sources.
3. 🧾 Create a New Wallet or Recover One
You’ll have two options:
- Create a new wallet: This generates a new set of private keys and recovery seed.
- Recover an existing wallet: If you've lost your device or are migrating from another Trezor, you can input your recovery phrase.
4. 🔐 Write Down Your Recovery Seed
Trezor will display a 12 or 24-word recovery seed phrase. This is your master key — write it down and store it offline in a safe location.
Warning: Never take a photo or store your seed digitally. Anyone with access can steal your funds.
5. 🔒 Set a PIN Code
Next, create a secure PIN to protect your device from unauthorized access. The device uses a scrambled keypad interface to make this even more secure.
6. ✅ Access Trezor Suite
Once your wallet is set up, you’ll be redirected to the Trezor Suite — a powerful interface that lets you send, receive, buy, and manage your crypto securely.
🧰 Features of Trezor Suite via Trezor.io/start
When you finish setting up at Trezor.io/start, you’ll gain access to Trezor Suite, which includes:
📊 Portfolio Overview
Manage all your assets in one unified dashboard.
🚀 Easy Transactions
Send and receive cryptocurrencies with full control and visibility.
🛡️ Enhanced Security
Enable passphrase protection, check transaction history, and adjust privacy settings.
🔄 Integrated Exchanges
Buy and exchange crypto directly within the Trezor Suite interface.
🔎 Troubleshooting Common Issues at Trezor.io/start
Here are some common issues you may face and how to resolve them:
IssueSolutionDevice not detectedTry a different USB port or cable. Make sure browser permissions allow USB.Firmware errorVisit the official Trezor Help Center and try reinstalling via Suite.Seed phrase mismatchDouble-check spelling and order; phrases must match exactly.Browser compatibilityUse Chrome or Firefox for the best results.
🛡️ Best Practices After Setup
To keep your crypto safe post-setup:
- Use a strong PIN and update it regularly.
- Never share or type your seed phrase online.
- Enable passphrase protection for added security.
- Regularly update your Trezor Suite software.
- Only access Trezor.io/start from the official website (double-check the URL).
📈 Why Trezor.io/start is Ideal for Beginners and Experts Alike
Whether you’re a crypto newbie or a seasoned HODLer, Trezor.io/start simplifies the setup process without compromising security. The clean UI, guided steps, and emphasis on security make it a perfect onboarding tool.
💬 Final Thoughts on Trezor.io/start
In a world where digital threats are constantly evolving, your crypto deserves top-tier protection. Trezor hardware wallets, combined with the intuitive onboarding at Trezor.io/start, offer unmatched peace of mind.
By taking just a few minutes to set up your device properly, you’re putting your digital future in a vault that only you can open.
📝 Frequently Asked Questions (FAQs)
❓ Is Trezor.io/start safe?
Yes, it’s the official setup portal for Trezor wallets. Always ensure you are on the https:// version to avoid phishing.
❓ Can I access Trezor.io/start on mobile?
Currently, Trezor Suite is optimized for desktop. Some setup steps may not work properly on mobile.
❓ What if I lose my device?
If you have your recovery seed, you can restore your wallet on any Trezor device.
🔗 Quick Links
- Buy a Trezor Wallet
- Start Setup – Trezor.io/start
- Trezor Suite Download
- Trezor Help Center